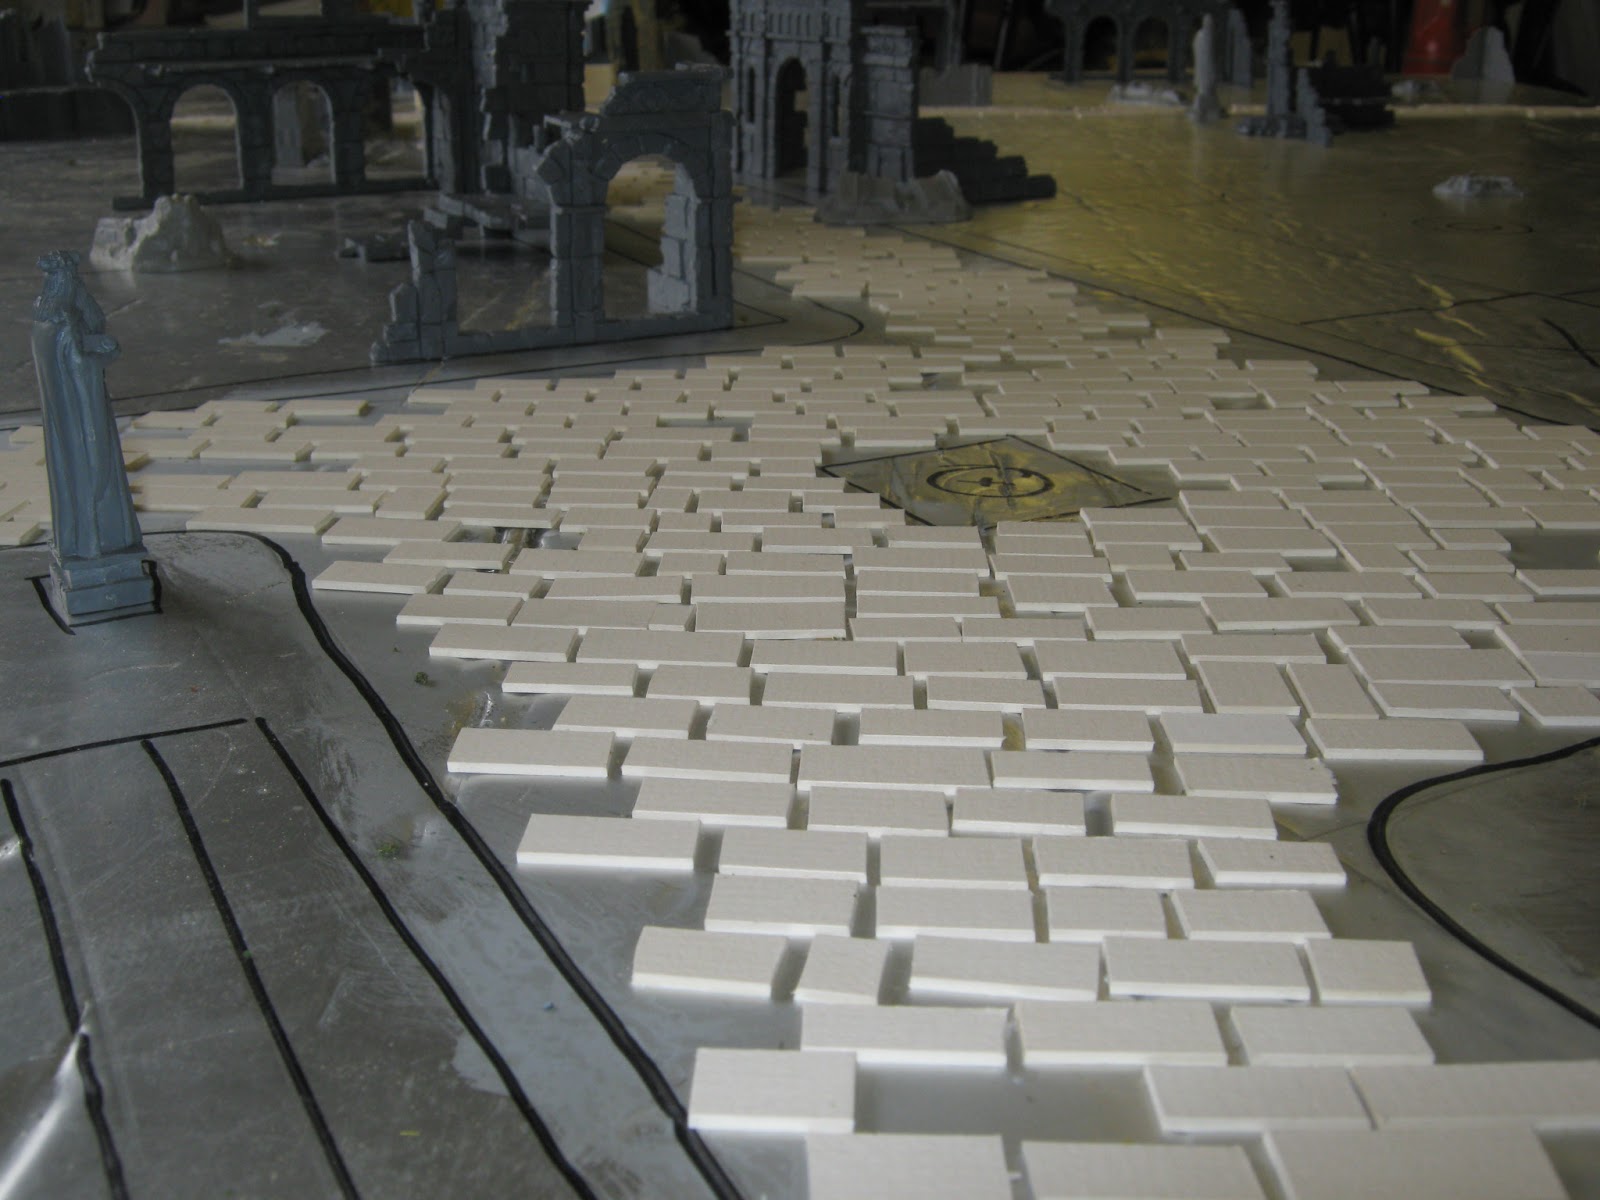
The game was divided into two seperate and distinct phases. The first was very much based on and around the campaign map, and played like a combination of Risk and the Total War games. The map, which was made from scratch using Photoshop, was printed out to full size. This was around a metre square. The second phase was made up of any battles that had to be fought to gain control of territories on the map.
Each faction was then given 3 territories, and colored pins to mark these and their armies. We managed to play through 4 turns in quick succession, as there was only one small skirmish between myself (Mordor) and Ryan (Gondor). Quite fitting I thought, though it seems the rest of the players are quite content in sitting around waiting for another to make a first move. The room went quiet on more than one occasion as people were plotting tricks and tactics. All in good fun.
Anyway, for anyone who wants to try this themselves, I'll post the rules and the campaign map up. We'll hopefully be continuing this campaign and meeting every couple of months as we all live quite far apart. And for the next post there will definitely be photos!

RULES
In the world campaign, each player
chooses a faction, which starts with a capital city and two other regions. Each
player is then given 500 points with which to build a starting force, split
between their two armies. The campaign is carried through turns, divided into
phases and played over the map of Middle Earth. Before the campaign starts,
each player rolls a dice. The order of play starts with the highest-rolling player,
and is set for the rest of the campaign. The first army of each faction is
placed at their capital city, after which the second army may be placed in any
other region controlled by that faction, in turn.
POINTS - Each turn
you generate the amount of points determined by your controlled regions. These are
split between your two armies and are used to buy troops and heroes. This is
disregarded for the first turn. Separate army lists should be made for each,
and kept secret from enemy players. Capital cities generate 90 points, strongholds
generate 45 and other regions generate 15. Armies must remain legal with at
least one hero per army. Points do not have to be spent during a turn, and may
be carried over to the next.
TACTICAL POINTS - Each turn a
faction may spend up to three tactical points. These are decided secretly and
then revealed together. They can be spent on either:
1.
Militia can be bought, strengthening a region for the
turn’s combat as a defending force. Locations remain secret until after movement.
Each tactical point spent on militia allows you to buy un-named heroes and
warriors equal to the value of the region. Up to two tactical points may be
spent on militia in one region.
2.
Influence can be bought to place your faction at the
top of the order of play for that turn. If one or more players do this, then
the players who spent more points move first. If there are ties, factions move
as they would naturally move in relation to eachother.
3.
Upgrades can be bought for regions. An upgrade will
increase its point value by five each time. A region may never match or
overtake the value of a higher-tiered region. For example, the highest value a
standard region can reach is 40. Strongholds can reach 85 and capital cities
may reach 125. No more than one upgrade may be spent on a region per turn.
4.
Boats may be bought by an army along a river or
coastal region. This will allow them to move across the water in the following
movement phase. If a faction controls both sides of the water, they may move
across without penalty.
5.
Alliances may be discussed before the expenditure of
tactical points. If agreed, both factions must spend a tactical point to
solidify the alliance. This allows allied troops to be bought for your army,
and for movement through the ally’s regions as if they were your own. An alliance
can be broken at any time by spending a tactical point. No combat may be fought
between factions the turn they break an alliance, unless two tactical points
are spent. An army must still contain more of your own forces.
6.
Siege Equipment may be bought when an army is
attacking a stronghold or capital city. This can include one battering ram, one
ladder per 12 models or one siege tower per 24 models.
7.
Scouts may be used to acquire important information
about any enemy’s army which is adjacent to one of yours. Information found is
kept secret of course. This is done at the end of the tactical phase. Roll a D6
and consult the Scouting chart below. Further points spent on scouts add +1 to
dice rolls.
1. Total failure.
Your scout was discovered. Roll a further D6. On the roll of a 1-2, you tell
your enemy the point value for your closest army.
2. Lost. Your
scout is lost or slain.
3. Lost. Your
scout is lost or slain.
4. Success.
You know the point value of an enemy’s army as well as its General.
5. Success.
You know the point value of an enemy’s army as well as its General.
6. Total
Success. Your enemy shows you their army list.
MOVEMENT - Following
order of play, the first faction moves their first army, the second faction
moves theirs, etc. until all first armies are moved. This is repeated with the
second armies. If an army is in combat, they cannot move. Armies may move
through one region per turn, unless the entire move takes them through their
own territory, in which case they may move through two regions. Armies cannot
move between regions separated by mountain ranges. If an army moves into an
unclaimed or ‘wild’ region, they may claim it, and it is added to their
territory. Armies which move into a region controlled by another faction claim
it if there is no defending army.
If there is a defending army in a
region, a battle must be fought in the combat phase. Armies may only move
through other faction’s regions if they are allied. Rivers can only be crossed
at bridges, or if the army has built boats in the tactical phase. Seas can be
crossed along sea routes only. Lakes cannot be crossed.
COMBAT - Most
combats will result in one army defending its region from an attacking army.
These battles are played using the respective army lists. If the attacking army
wins, they claim that region. If they lose, they are pushed back to an adjacent
friendly region. Once the force has been reduced to 50%, they must start
testing for courage. Once the force has been reduced to 25%, they are fully
broken and the remaining models flee automatically. Models that have fled rally
to a friendly region. After the turn finishes, these models return to the army.
If the army cannot flee into a friendly region, it is eliminated from the game.
At this point, a new army may be built at the capital city. Battles are fought
as a standard pitched battle, unless both players agree to play a specific
scenario. Siege battles may be fought when contesting a stronghold or capital.
If another faction’s army moves
into a region where there is already a battle taking place, they act normally
as a third fighting force. If the defending army wins, the other two must still
retreat. Otherwise, it is the attacking army who causes the most damage before
the enemy is reduced to 25% that wins. If, however, the third army is allied to
one of the armies already fighting, roll a D6. On the roll of a 4+ they enter
the battle as normal; on the roll of a 1-3 they follow the normal rules for
reinforcements.
When defending a capital city or stronghold,
an army does not need to test for courage when reduced to 50% and may fight to
the last man. If an allied army is defending one of these regions with an army
owning the region, they will have to test as normal. If a capital city is lost,
a stronghold at the beginning of the next turn may be promoted to become the
new capital. If no strongholds are under control of the player, the most
expensive region becomes the new capital. Captured enemy capitals will generate
half the normal amount. If a situation arises where a faction’s armies are all
destroyed, and all regions are lost, then that faction is eliminated from the
campaign.
Warriors and Heroes lost in battle
are lost completely, but may of course be replaced. If named heroes are lost in
battle, they are gone forever and cannot be bought again. Moreover, if any
mount is lost, they are also lost completely. Similarly, if a hero gains an
item during battle, it can be kept free of charge. Keep record of these. The only
exceptions to this rule are the Nazgul and Gandalf the Grey, who may be bought
again as Gandalf the White. A tactical point must be spent in order to do this.
Named heroes are generally bought from their respective faction lists, with the
general exception to ‘wonderers of the wild’. Keep in mind that this campaign
is set around the time of The Hobbit and Lord of the Rings, and no warriors and
heroes from other timelines should be included. Special troops can only be
bought if their ‘home region’ is controlled. For example, Isengard can only buy
Dunlandings if the Dunland region is controlled, Gondor can only buy Knights of
Dol Amroth if Dol Amroth is controlled, etc.
An army’s point total may never
exceed 4x the faction point value. For example, if Mordor is worth 200 points,
then a single Mordor army may not exceed 800 points in value. If the faction
point value is lowered, making the armies illegal, models must be discarded
until they are legal again. This is done in the points phase.